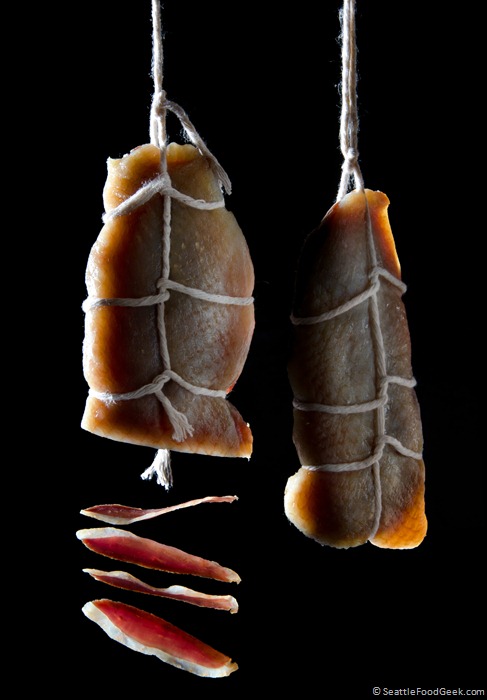
Did you know that you can cure meat at home using nothing more than a wine refrigerator?
This was my first attempt at meat curing, and I’d say it went fantastically well. This project was inspired by Matt Wright and his insanely beautiful blog, WrightFood. Matt has some serious curing experience under his belt, and offers detailed recipes and techniques for home curing. For this project, I followed his recipe for Duck Prosciutto (recipe is towards the bottom of the post).
The recipe calls for curing duck breasts in salt for 24 hours before hanging them up to cure at 55F with 60% relative humidity until they have lost 30% of their original mass.
Although I’ve got big plans in my head for building a high-tech curing chamber (one day), I also remembered that I had an unused wine refrigerator sitting in the basement. Nothing is sadder than an empty wine fridge, so I decided to repurpose it for a bold new mission. The fridge has an adjustable temperature setting for champagne, whites, reds and long-term storage. Luckily for me, one of those settings corresponds to 55F. I didn’t bother measuring the humidity in the wine fridge, but I reasoned that it would have to maintain a reasonable humidity level to keep wine corks from drying out. The fridge also has a small fan, which is great for circulating the air inside and a desirable condition for curing meat.
I followed Matt’s directions, though I accidentally let the breasts sit for 48 hours in salt (instead of 24) before hanging. I weighed the breasts and recorded their starting weight and the date on a piece of tape which I affixed to the door of the wine refrigerator. I also skipped the step of wrapping the duck breasts in cheesecloth, which Matt said was OK. I let the breasts hang in the wine fridge and I checked on them every 5 days or so, inspecting them for signs of bacterial growth (bad) and giving them a squeeze test [with clean hands] to check for doneness. After 25 days, they looked and felt about right, so I weighed them. They had lost about 27% of their weight, which was all from moisture leaving the meat. I called it “done” and carefully sliced off my first taste of home-cured meat. It was fantastic, if a little on the salty side. However, I’m really thrilled with the results of my first attempt and I can’t wait to start curing more and more meat!
As it turns out, a wine refrigerator is reasonably ideal for this kind of curing. Temperature settings range from 45-65F with relative humidity of 55-75%, which is just about the sweet spot for slowly dehydrating and aging meat. Most models use a piezoelectric cooling element, which is quiet and barely sips electricity. Plus, these days, they’re cheap: wine fridges range from under $100 for a no-frills model, to $150 for a model with decent capacity, and well on into the stratosphere from there. Just remove all but the top rack and you’ve got space to hang tens of pounds of meat at once!
I’m planning to investigate retrofitting my wine fridge with strips of ultraviolet LED lighting as a safeguard against possible mold or bacterial growth during the aging process. I also bought a USB scale, which I’d like to add so I can monitor the weight loss of my meats remotely. I’ll report back once the retrofit is complete, but in the meantime, I’m going to go enjoy a well-deserved charcuterie platter straight from my own home.
Further Reading: Check out Matt’s Home Cured Duck Prosciutto, and his other charcuterie recipes. He’s also got a great step-by-step guide on building a proper curing chamber at home.


